Stuffed animals hold a special place in our hearts, often serving as cherished childhood companions or sentimental keepsakes. Over time, these beloved friends can experience wear and tear. But fear not! With a little effort and some know-how, you can restore your cuddly companion to its former glory. Welcome to Stuffed Animal Repair 101, your ultimate guide to fixing stuffed animals and keeping them in tip-top shape.
Assessing the Damage
Before diving into repairs, take a moment to evaluate the condition of your stuffed animal. Common issues include:
- Loose seams: Stitching may come undone from years of hugs.
- Missing stuffing: Areas may feel flat or underfilled.
- Torn fabric: Holes or frayed edges can appear in well-loved spots.
- Detached parts: Limbs, tails, or ears might need reattachment.
- Stains or odors: Accidents happen, and cleaning is a must.
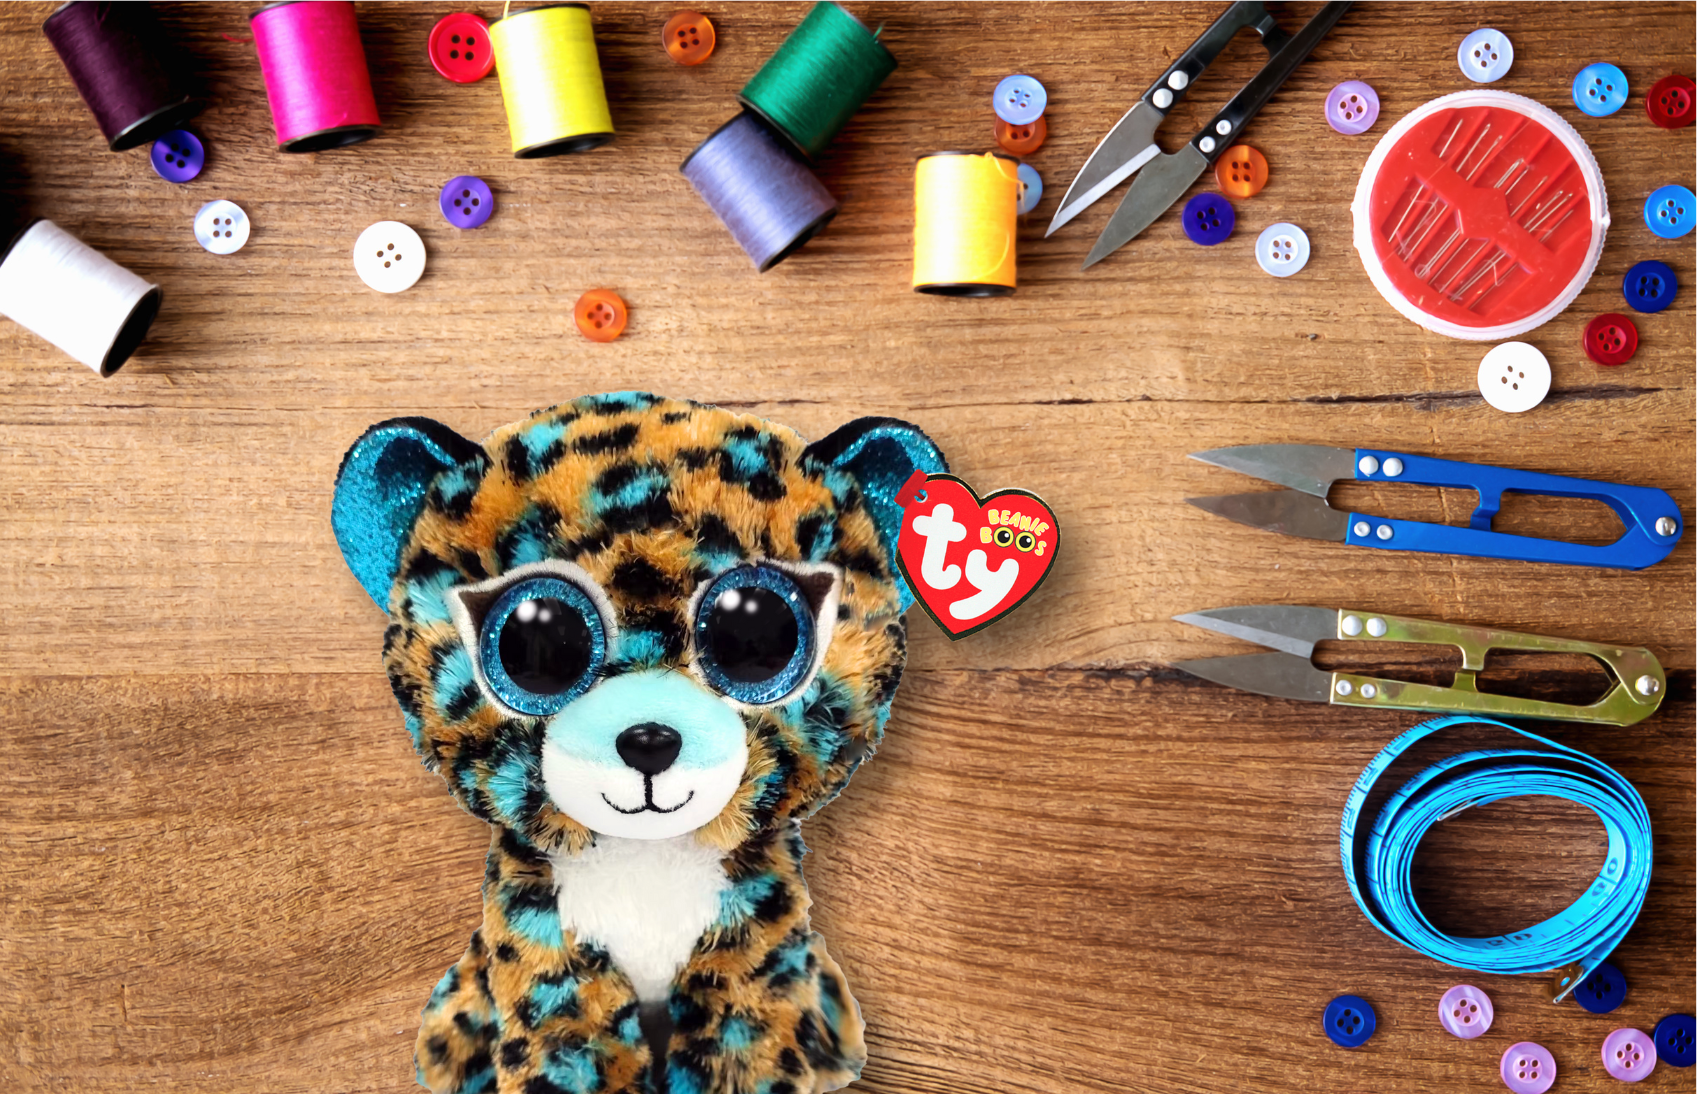
For those with a collection of Ty plush pals, such as Beanie Babies or Beanie Boos, look for unique features like embroidered details or the iconic Ty tags that might need extra care. Understanding the extent of the damage will help you plan your repair strategy.
Tools of the Trade for Stuffed Animal Repair
To fix stuffed animals effectively, gather the following supplies:
- Needle and thread (choose a color that matches the fabric)
- Fabric glue for quick fixes
- Scissors and fabric patches
- Polyester fiberfill for restuffing
- Safety eyes or buttons for replacements
- Gentle detergent and a soft brush for cleaning
Having these tools on hand ensures you’re ready for any repair challenge.
Step-by-Step Repair Guide to Fix Stuffed Animals
1) Fix Loose Seams
Thread a needle with matching thread and carefully stitch along the seam. Use a ladder stitch for an invisible repair. Tighten each stitch as you go to ensure durability.
2) Restuff Flattened Areas
Open a small section of the seam and insert fresh polyester fiberfill. Distribute the stuffing evenly before stitching the seam closed.
3) Patch Torn Fabric
Cut a fabric patch slightly larger than the tear. Use fabric glue or sew the patch over the hole. For a decorative touch, choose a patterned fabric that compliments your stuffed animal.
3) Reattach Detached Parts
Securely sew any detached limbs or features back in place. Reinforce the stitching to withstand future playtime.
5) Wash and Deodorize
Handwashing is the safest method. Use a basin of lukewarm water with gentle detergent. Scrub lightly with a soft brush and rinse thoroughly. Air dry completely to prevent mold.
How Often Should You Wash Stuffed Animals?
Washing frequency depends on usage. For daily companions, a wash every few months is ideal. For display items, annual cleaning suffices. Always check the care label to ensure proper maintenance. Check out our handy guide to learn how to clean your Beanie Babies, Squishy Beanies, Puffies, and other Ty plush pals.
Preventative Care Tips
- Store stuffed animals in a cool, dry place to avoid moisture damage.
- Rotate plush pals use to prevent over-wear on one favorite friend.
- Use a pillowcase or laundry bag when machine washing to protect delicate features.
Embracing Imperfections
Remember, a stuffed animal’s imperfections tell a story of love and companionship. A bear with a frayed ear or a dog with a slightly crooked paw only adds to their charm and individuality. While repairs restore functionality, the little quirks make your stuffed friend unique. Celebrate these signs of a life well-loved.
With these tips and techniques, you can give your stuffed animals a new lease on life. Whether you’re fixing a treasured childhood toy or helping a loved one repair theirs, your efforts will ensure these cherished companions continue to bring joy for years to come. Happy repairing!

Greg Torkelson
Greg focuses on helping Ty strengthen their digital presence with practical, results-focused strategies. He brings a steady approach to projects and enjoys seeing campaigns turn into measurable results. Greg’s favorite part of working with Ty is seeing how Beanies bring excitement to kids and collectors alike. When he’s not at his desk, he enjoys golfing, curling, and spending time with his family.